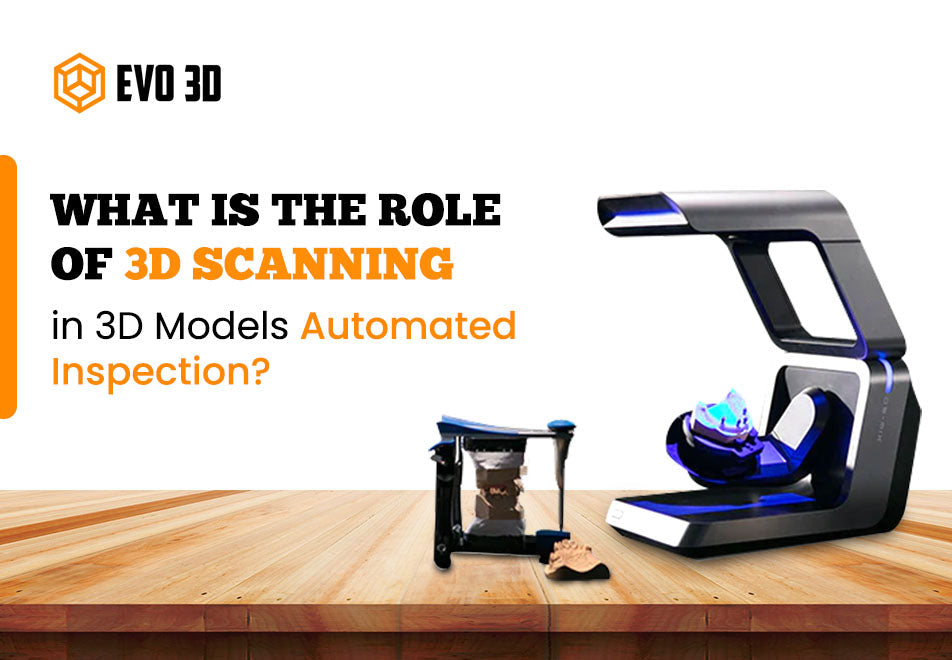
What is the Role of 3D Scanning in 3D Models Automated Inspection?

The manufacturing world is reaching its pinnacle of technological advancement. Industry leaders are adopting additive manufacturing methods through a state-of-the-art large format 3D printer to get the fastest outcomes. Hence, they access the market quickest and lead the space accordingly. Likewise, the popularity of automotive inspection through a quality 3D scanner is rising for 3D products. Why? While there are numerous reasons for this, one of the popular ones is the long, time-consuming and hassled operations of the traditional methods.
Moreover, the inefficiency of those traditional methods is now helped aptly with the quality inspection of a 3D scanner. Now, you can easily scan the intricacies of a product, whether they are curved or flexible, and get an accurate inspection result. With this 3D scanning, you can spot the smallest defect that may go unnoticed if you inspect through traditional ways.
3D Scanner for 3D Products Automated Inspection: Top Functions
A 3D scanner can do wonders when it comes to the Automated Inspection of your 3D products. Are you ready to explore the efficiency of them in this direction? Continue reading to know.
1. Checking Product Alignment with the CAD Models
The CAD designs are the perfected visuals of a 3D model that is yet to be architected or manufactured. Now, these defect-free representations of the 3D products become a significant means for the handheld scanner to perform its function. It comprises comparing the CAD design with the actual 3D model that has been produced through scanning. Any deviation from the ideal CAD will mean that the product has deformities.
However, if there is no deflection followed, the product is said to be the precise one and ready to be presented in the market. When you are operating a large scale manufacturing business through additive manufacturing, an industrial 3D scanner can perform this role the best.
2. Detailed Analysis of the Geometric Properties
Geometric dimensioning and tolerancing analysis is a crucial aspect of automated inspection. This involves inspecting the geometric properties of a part in detail. The parts that are produced with the help of a large format 3D printer are put through geometric evaluation with the help of the industrial 3D scanner. The scanner scans the measurement of every corner of the product. Also, it studies its geometric properties.
Those properties consist of the form, orientation, location, and runout of features. In case, any of them vary then the intended design, log off from the idea of presenting it to the market. Your next step should be to revise the default product production.
3. Standard Inspection of Surface with Diverse Materials
Various manufacturers rely on producing diverse products of different materials, catering to a large number of industries. Whereas some of them produce the same product but with different parts, serving a particular type of industry. Their focus is to be consistent with the quality standards as per the market. The standards can only be achieved by delivering products with zero defects. However, the material's complexity can pose an issue.
Whether it’s the diverse parts with different materials or the products having varying materials, the quality standards must remain unshaken during additive manufacturing. Moreover, to check if it has been met or not, an industrial 3D scanner can play a huge role. The imperfections are detected promptly, irrespective of the material, with the help of these scanners.
4. Advanced Analysis of the Product Deterioration
Even if you have manufactured the perfect product with quality parts with the help of a large format 3D printer, it is bound to deteriorate over time. However, you can prevent incurring heavy expenses on product remanufacturing. How? You can do this by using a 3D scanner. The process is simple. You should use the scanner on the product. It will detect the critical components of the product that are subjected to wear and tear.
Once you find the potential wear and tear, you can move ahead to maintaining the same, which actually costs less than remanufacturing. This can also predict the maintenance requirements for your capital. Hence, there will be expensive downtime. And, it will ensure the long-term functioning of the product.
Move towards Efficient 3D Manufacture with Quality 3D Scanning!
Are you ready for defect-free 3D manufacturing? Yes! A quality 3D scanner offers you the choice. You can check the product alignment with the CAD models, scan the geometric imperfections, and more. There are several benefits of a quality industrial 3D scanner, only if you shop for a quality one. In this direction, Evo 3D presents you with the best. We have high-precision, state-of-the-art 3D printers and scanners at the most affordable price. Connect with us today and get assured of a breezy delivery!
