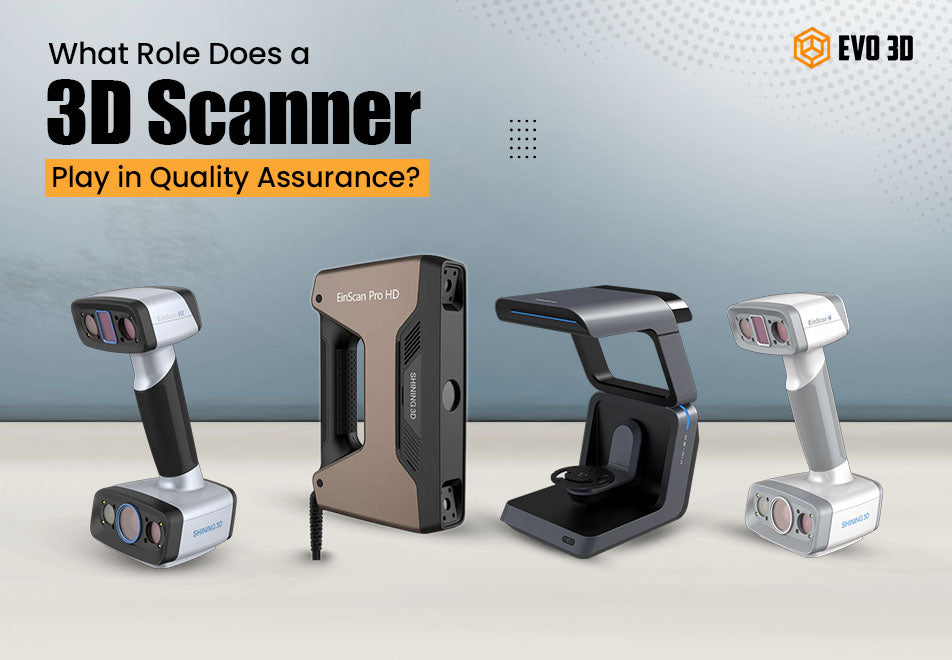
What Role does a 3D Scanner play in Quality Assurance?

3D scanning is becoming a very popular choice, trusted for its accuracy, reliability, and ease of use. In industries where precision is non-negotiable, ranging from aerospace to manufacturing, quality assurance can make or break the product integrity. Traditional quality assurance methods are often time-consuming and prone to human error. This is where 3D scanners are changing how the QA process works.
They can precisely capture a 3D image. This allows for faster comparisons between manufactured parts and their original CAD models, ensuring that higher tolerances are maintained. They can help manufacturing businesses streamline their workflows, significantly reducing the time spent on manual measurements. Overall, integrating 3D scanners into QA processes leads to improved consistency and higher customer satisfaction.
How do 3D Scanners Improve Accuracy in Quality Assurance?
A 3D scanner captures the shape of an object in high detail, producing a digital 3D model. The captured model can be compared with CAD models to find any defects or inaccuracies, without needing any physical contact. Scanned data can be stored and referenced for future quality audits or process improvements. It allows for real-time feedback during production, helping teams catch errors early. It supports inline inspection, integrating directly into manufacturing workflows. With these 3D scanners, reports can be generated that help businesses make informed decisions. Some of the ways 3D scanners improve accuracy in quality assurance are listed below:
High Accuracy and Resolution
Did you know that industrial 3D scanners can capture even the tiniest defects? Yes, the 3D scanners offer micrometre-level precision that is far beyond the capabilities of manual tools. They can find surface-level flaws and structural inconsistencies with ease. These 3D scanners are built with high-resolution scanning, ensuring that no detail is missed, even on complex or reflective surfaces.
This level of detailing is crucial in industries where safety, performance, and compliance are non-negotiable. These 3D scanners have the ability to capture accurate data from every angle, helping them maintain the highest quality standards. Ultimately, they reduce inspection time while increasing confidence in product integrity.
Quick Inspection Times
What used to take hours can be done now in minutes with the help of 3D scanners. They help speed up production without compromising on quality. Automated scanning processes reduce the need for manual measurements and repetitive tasks. This allows the manufacturing team to focus more on analysis and decision-making rather than collecting the data.
You can perform the scan directly during production, minimising the downtime. Instant feedback allows real-time adjustments, preventing defects from progressing down the line. Faster inspections also mean quicker approvals, helping products reach the market sooner. In fast-paced industries, this time-saving advantage can lead to a significant competitive edge.
Consistent and Repetitive Measurements
We all know that while inspecting the object manually, chances are high that there will be errors and variations, especially when the task is performed repetitively. This is where industrial 3D scanners come into the picture. They help eliminate inconsistencies by offering standardised results in every scan.
This consistency makes sure that quality checks are traceable and objective, reducing variability. It ensures that inspection results remain uniform across shifts, teams, and facilities. That, in turn, allows for easy comparison across different production batches or time periods. As a result, companies can maintain high inspection standards with minimal human influence.
Improved Reverse Engineering
These 3D scanners help improve reverse engineering by capturing accurate digital replicas of physical parts, even if no original CAD data exists. This is especially useful for legacy components or redesigning projects. They can produce high-resolution scans that provide the foundation for generating accurate CAD models, allowing for faster prototyping or any modification.
Engineers can extract exact measurements of a 3D model, reducing guesswork and making sure that they are compatible with modern manufacturing processes. They help streamline product development and support innovation while maintaining high accuracy.
3D scanners: The Future of Accurate Quality Assurance.
To conclude, manufacturers can achieve more accurate and reliable quality control processes by adopting 3D scanning. They can generate precise models and detect any defects, ensuring that production meets the highest quality standards.
We, at Evo3D, understand that precision and efficiency play an important role in modern manufacturing. This is why we offer robust 3D scanners and large format 3D printers that can help your business improve quality assurance and accelerate product development.
